When you use Audiorista to build your app, we provide the engine and the player, but you as the owner, must set up your "products" inside your own Apple Developer account. This ensures that all revenue goes directly into your bank account.
This guide walks you through creating your subscription products so they can be linked to your Audiorista CMS.
Table of Contents
To monetize your app and offer premium content to your audience, you need to configure your subscription products in App Store Connect. This guide will walk you through the essential steps to get your products ready for your branded app.
Step 1: Agreements, Tax, and Banking
Before Apple allows you to sell or even test in-app purchases, you must ensure your legal and financial details are up to date:
Sign the Paid Applications Agreement: In the "Business" module of App Store Connect, ensure you have signed the latest version of the agreement.
Tax and Banking: Complete the required forms in the "Tax" and "Banking" tabs. Your bank account status must show as "Clear" before you can proceed.
Step 2: Creating a Subscription Group
Subscription Groups allow you to organize your products so users can easily switch between different tiers (e.g., Monthly vs. Yearly).
-
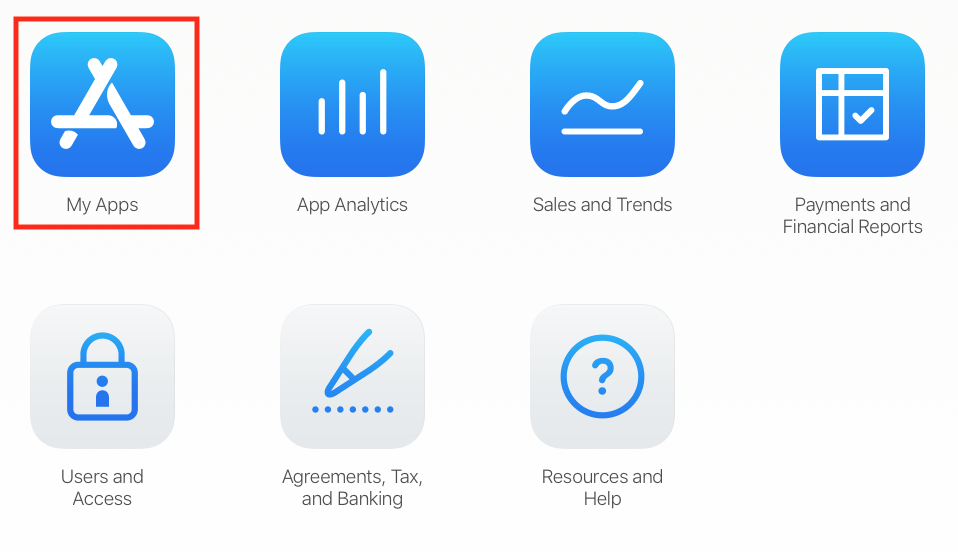
Go to My Apps in App Store Connect and select your app.
-
In the sidebar, under Features, select Subscriptions.
-
Click the (+) symbol to create a new Subscription Group.
Provide a Reference Name (this is for your internal use and is not visible to users).
Step 3: Adding Your Subscription Product
Once your group is created, you can add specific products to it:
-
Inside your Subscription Group, click the (+) symbol to add a new product.
Reference Name: Enter a name you’ll recognize in reports (e.g., "Premium Monthly").
-
Product ID: Enter a unique alphanumeric string.
Pro Tip: Use a consistent format like
brand_price_duration(e.g.,myapp_999_1m). Note that once a Product ID is used, it cannot be reused even if the product is deleted.
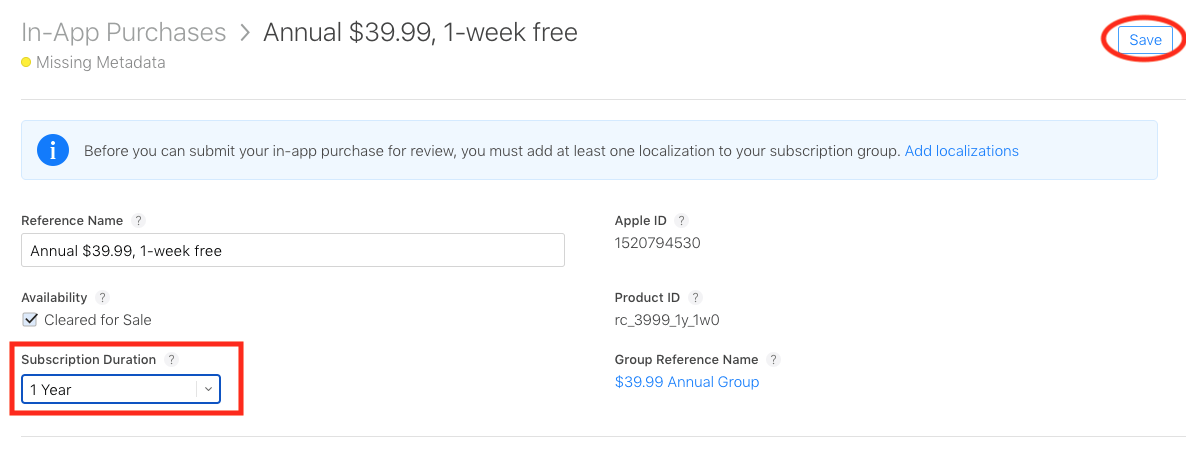
Step 4: Configuring Price and Duration
Subscription Duration: Choose the length of the subscription (e.g., 1 Month, 1 Year) from the dropdown and click Save.
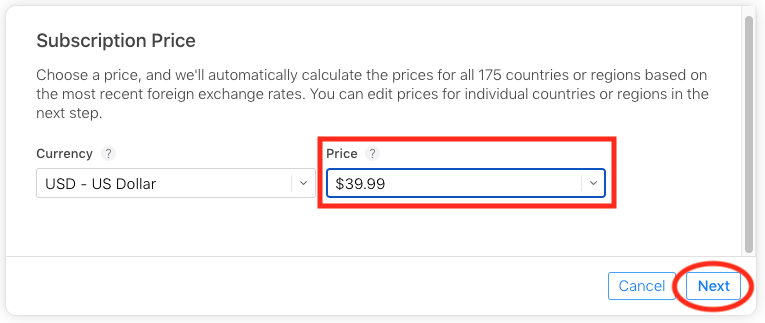
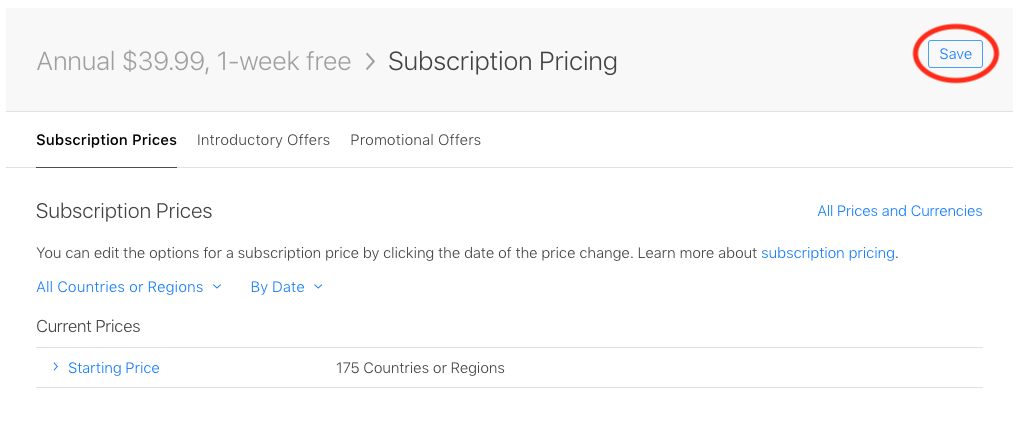
Subscription Price: Click the (+) icon in the "Subscription Prices" section. Choose your base currency and price point. Apple will automatically generate local pricing for all global regions.
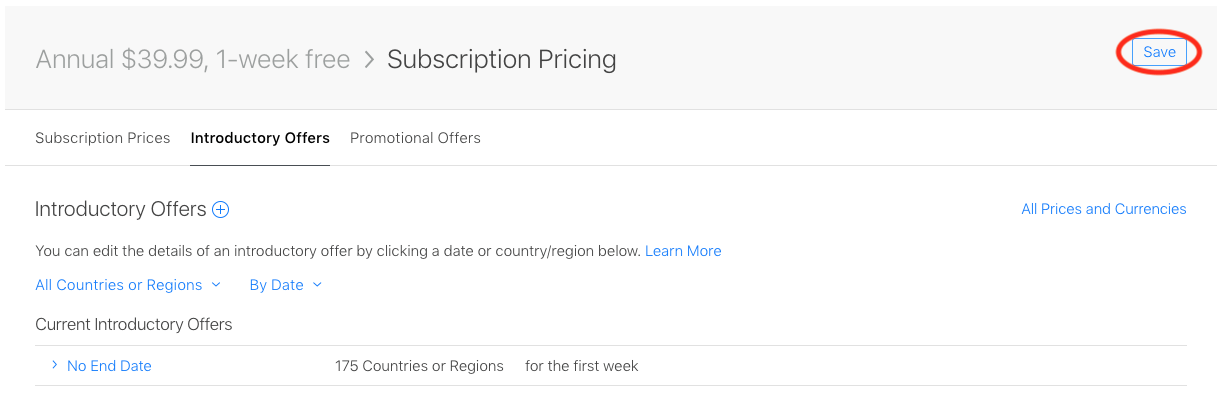
Step 5: Offering Free Trials (Introductory Offers)
Attract more subscribers by offering a "try before you buy" period:
Navigate to the Introductory Offers tab.

Set the Start Date to today and leave No End Date (unless it's a limited-time promo).
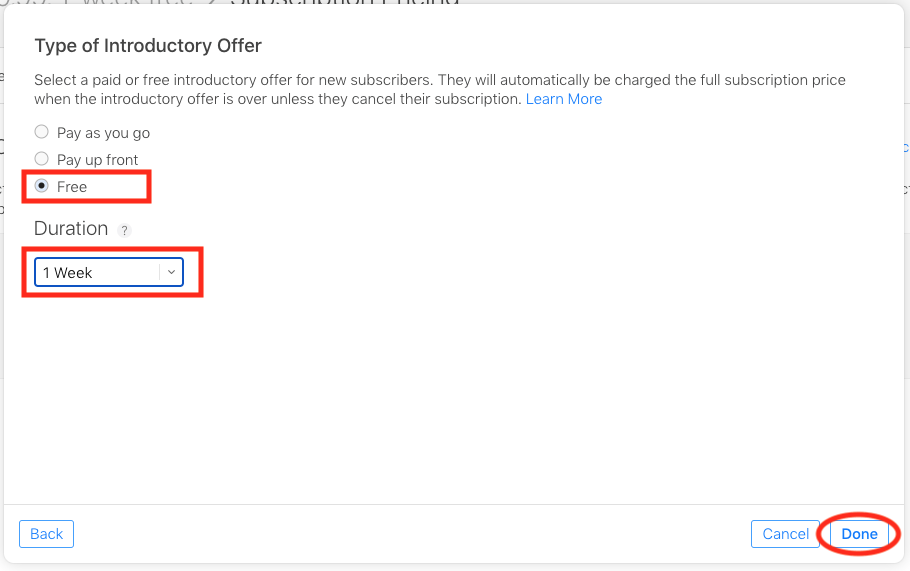
Select Free Trial and choose the duration (e.g., 7 days or 1 month) and hit Save.
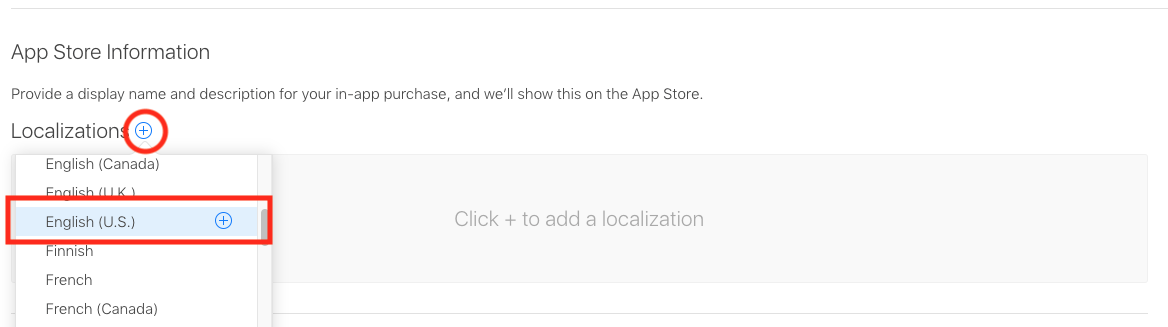
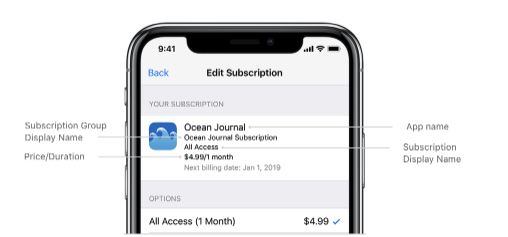
Step 6: Localization (What your users see)
This is the information that appears to your customers on the paywall and in their App Store settings.
Under App Store Information, click the (+) next to Localization.
Subscription Display Name: A short, clear name for the plan (e.g., "Pro Access").
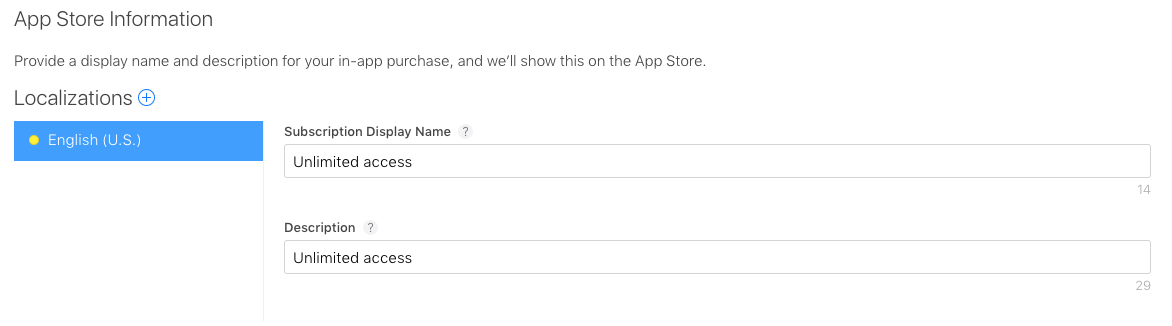
Description: A brief summary of what the subscription unlocks.
Step 7: Review Information (Required)
Apple requires a screenshot of your app's paywall before they will approve the product. This is the final requirement for configuring your iOS subscription is the provision of reviewer metadata. This is a Screenshot, and optional Review Notes.
Screenshot: Upload a 640 x 920 (or similar) image of how the purchase screen looks in your app.
Review Notes: (Optional) Add any specific instructions for the Apple reviewer if your setup is unique.
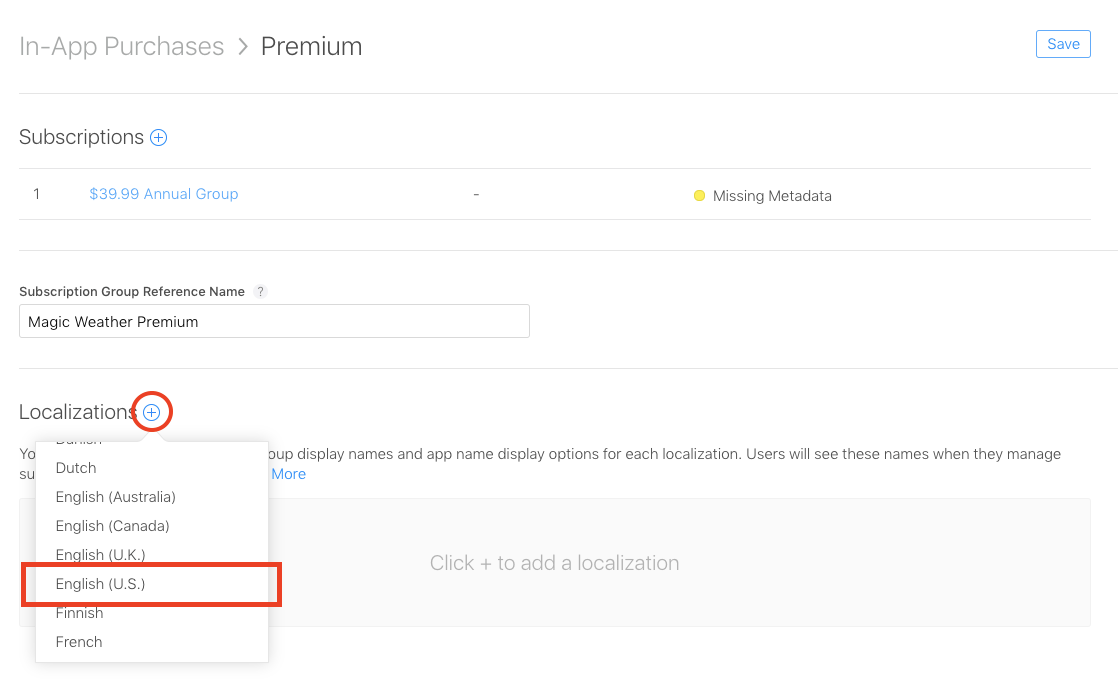
Step 8: Localization for the Subscription Group
If this is your first time configuring products within a Subscription Group, App Store Connect may display a validation warning:
This is a mandatory step. While you have already localized your individual products, Apple also requires localization for the Group itself. This information is visible to users within their iOS subscription management settings.
1. Accessing Group Settings
Click the "Add Localizations" link within the warning or navigate directly to the Subscription Group configuration page.
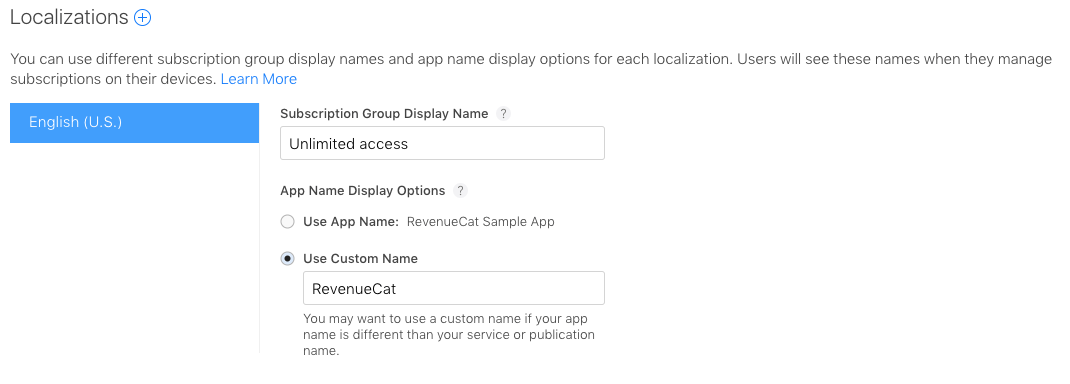
2. Subscription Group Display Name
Enter a concise name that describes the level of access the group provides (e.g., "Premium Access" or "Pro Membership").
Professional Recommendation: If you utilize multiple subscription groups for price testing or regional variations, we recommend using a consistent Subscription Group Display Name across all groups that unlock the same content. This ensures a clean and professional appearance in the user’s App Store settings.
3. App Name Selection
Apple allows you to choose how your app's name appears on customer receipts and management screens. You have two options:
App Store Listing Name: Uses your full title as it appears on the App Store.
Custom Name: Recommended if your App Store title is long or includes keywords for SEO (e.g., if your title is "Audiorista – Professional Audio Streaming," you may prefer a Custom Name of simply "Audiorista").
Final Implementation Note
Ensuring both the Product and the Group are properly localized is essential for passing Apple's review process. Once these fields are saved, the warning will clear, and your products will be eligible for submission.
Once these steps are complete, your products are ready to be linked to your app's CMS for immediate use!